Thickness Measurement of Bimetallic Composite Pipes and Plates
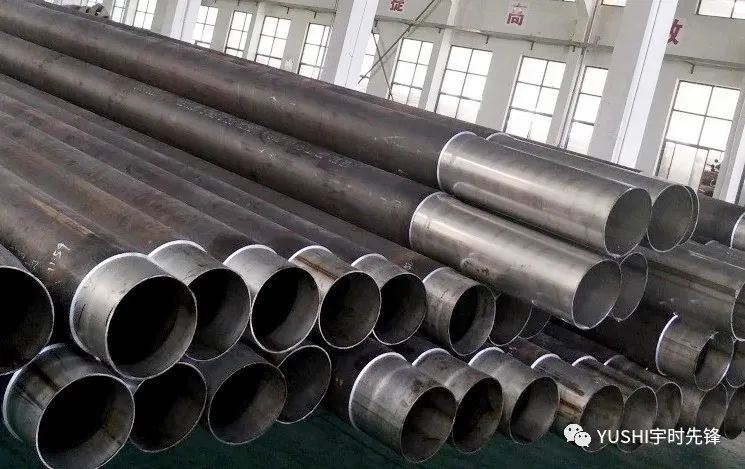
Metal composite materials, commonly known as bimetallic pipes or cladding pipes, are composite pipes composed of two different metal pipes. They are made by using composite technology or a variety of metals with different chemical and mechanical properties to achieve metallurgical bonding at the interface. The composite material formed greatly improves the thermal expansion, strength, fracture toughness, impact toughness, wear resistance, electrical properties, magnetic properties and many other properties of a single metal material. As a new structural material, composite pipes have been widely used in petroleum, chemical industry, shipbuilding, metallurgy, mining, machinery manufacturing, electric power, water conservancy, transportation, environmental protection, pressure vessel manufacturing, food, brewing, pharmaceuticals and other industrial fields.

Periodic nondestructive testing of bimetallic composite pipes is very necessary. In the past practical projects, It is usually measured directly by using tools such as vernier calipers at both ends of the composite pipe. Sometimes in order to meet the needs of users, samples are randomly selected, cut longitudinally, and then measured, which results in waste.
To solve this problem, we need to use ultrasonic thickness measurement technology for research and measurement, which can accurately measure the wall thickness of bimetallic composite pipe.
It is of great significance to ensure the strength and evaluate the safety and service life of bimetallic composite pipe.
Sample Show
We received a sample from our customer, a bimetallic composite material with an upper layer of 20# steel and an inner cladding of 304 stainless steel. This material uses explosive compounding to bond the surfaces of two metals. Since the thickness of the 304 stainless steel lining corrosion-resistant layer is only about 3mm, multiple comparative tests were conducted to improve the measurement precision and accuracy.

Conventional ultrasonic thickness gauge
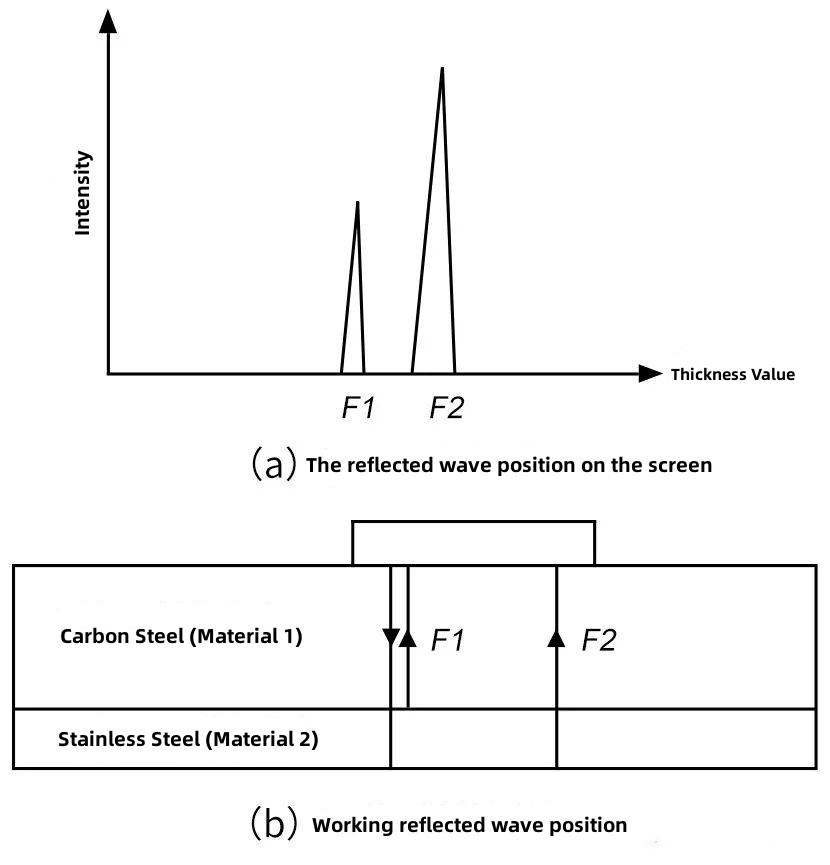
Use conventional ultrasonic thickness gauge to measure the wall thickness of (11.2+2.7) mm 20# steel + 304 stainless steel bimetal composite sample. It is found that when measuring the thickness at the same point,sometimes the outer thickness was displayed, and sometimes the overall thickness was displayed, and this phenomenon is very common in the detection of composite pipes. This is because the internal and external metal materials of the bimetal composite material are different. The acoustic impedance of 20# steel and 304 stainless steel is similar. Although the interface reflected wave can be observed, the reflected wave is weak and the interface reflection characteristics of the measurement point are not obvious.
High frequency ultrasonic measurement method
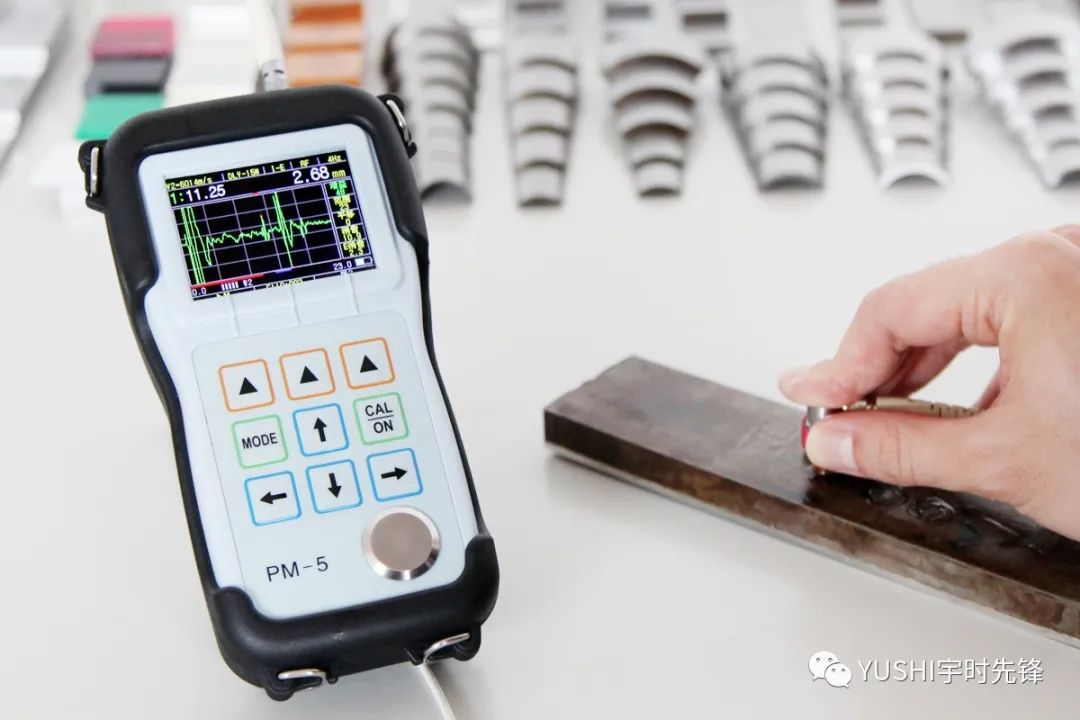
YUSHI PM-5 series ultrasonic thickness gauge is used to measure the wall thickness of bimetallic composite tubes with a high-frequency probe. As the incidence frequency of pulsed ultrasonic waves increased, the wavelength of ultrasonic waves became shorter, diffractive waves decreased and reflected waves increased at the bonding surface of the corrosion resistant alloy with coarse grain and the base carbon steel, and the echoes at the anisotropic composite interface were obvious. thus solving the detection sensitivity problem of bimetallic composite pipe wall thickness measurement.
The thickness of each layer is calculated according to the sound velocity and echo arrival time, so the accuracy of the sound velocity is directly related to the measurement accuracy. The sound velocity can not be simply applied to the sound velocity of a certain material, but needs to be determined by various material test blocks, and then accurately converted according to the sound wave travel time in each layer.

Measurement Result
YUSHI PM-5 series ultrasonic thickness meter with high-frequency probe to measure the wall thickness of 20# steel +304 stainless steel bimetallic composite material, which can simultaneously measure the thickness of 2 layers of material and the total thickness of the material at the same time, with clear echo, stable and accurate measurement value.

Summarize
★The thickness of base layer and lining layer of metallurgical bonded bimetal composite pipe can be accurately measured by using high frequency ultrasonic thickness gauge, and the detection accuracy can reach ±0.05mm, which effectively solves the problem of accurate measurement of base layer and lining thickness of metallurgical composite pipe.
★This method can be used by composite pipe manufacturers to dynamically measure and monitor the wall thickness of their products to ensure that the wall thickness of the factory materials meets the technical requirements.
★This method can be used by construction companies to measure the material acceptance thickness of bimetallic composite pipes to ensure the material wall thickness, especially the wall thickness requirements of the corrosion-resistant alloy layer of the lining, and provide a basis for material acceptance.
★This method can also be used to monitor the wall thickness of composite pipelines in service, so as to promptly detect defects and repair pipelines, which is of great significance to ensuring the safe use of pipelines.

